As there are things you can do to improve photos when shooting as well things that help post-production, I decided to split the post into two. This post will be covering all the easy changes you can make when taking the photos – so keep reading for handy shooting tips – and come back in two weeks for part 2 which will cover tips for editing.
What I’ve concentrated on here are things that anyone can do, (mostly) regardless of what equipment they have. These are the ways to combat all the little mistakes that are made when shooting that can easily be fixed, or things you may not have thought of but that would drastically improve the quality of your photos.
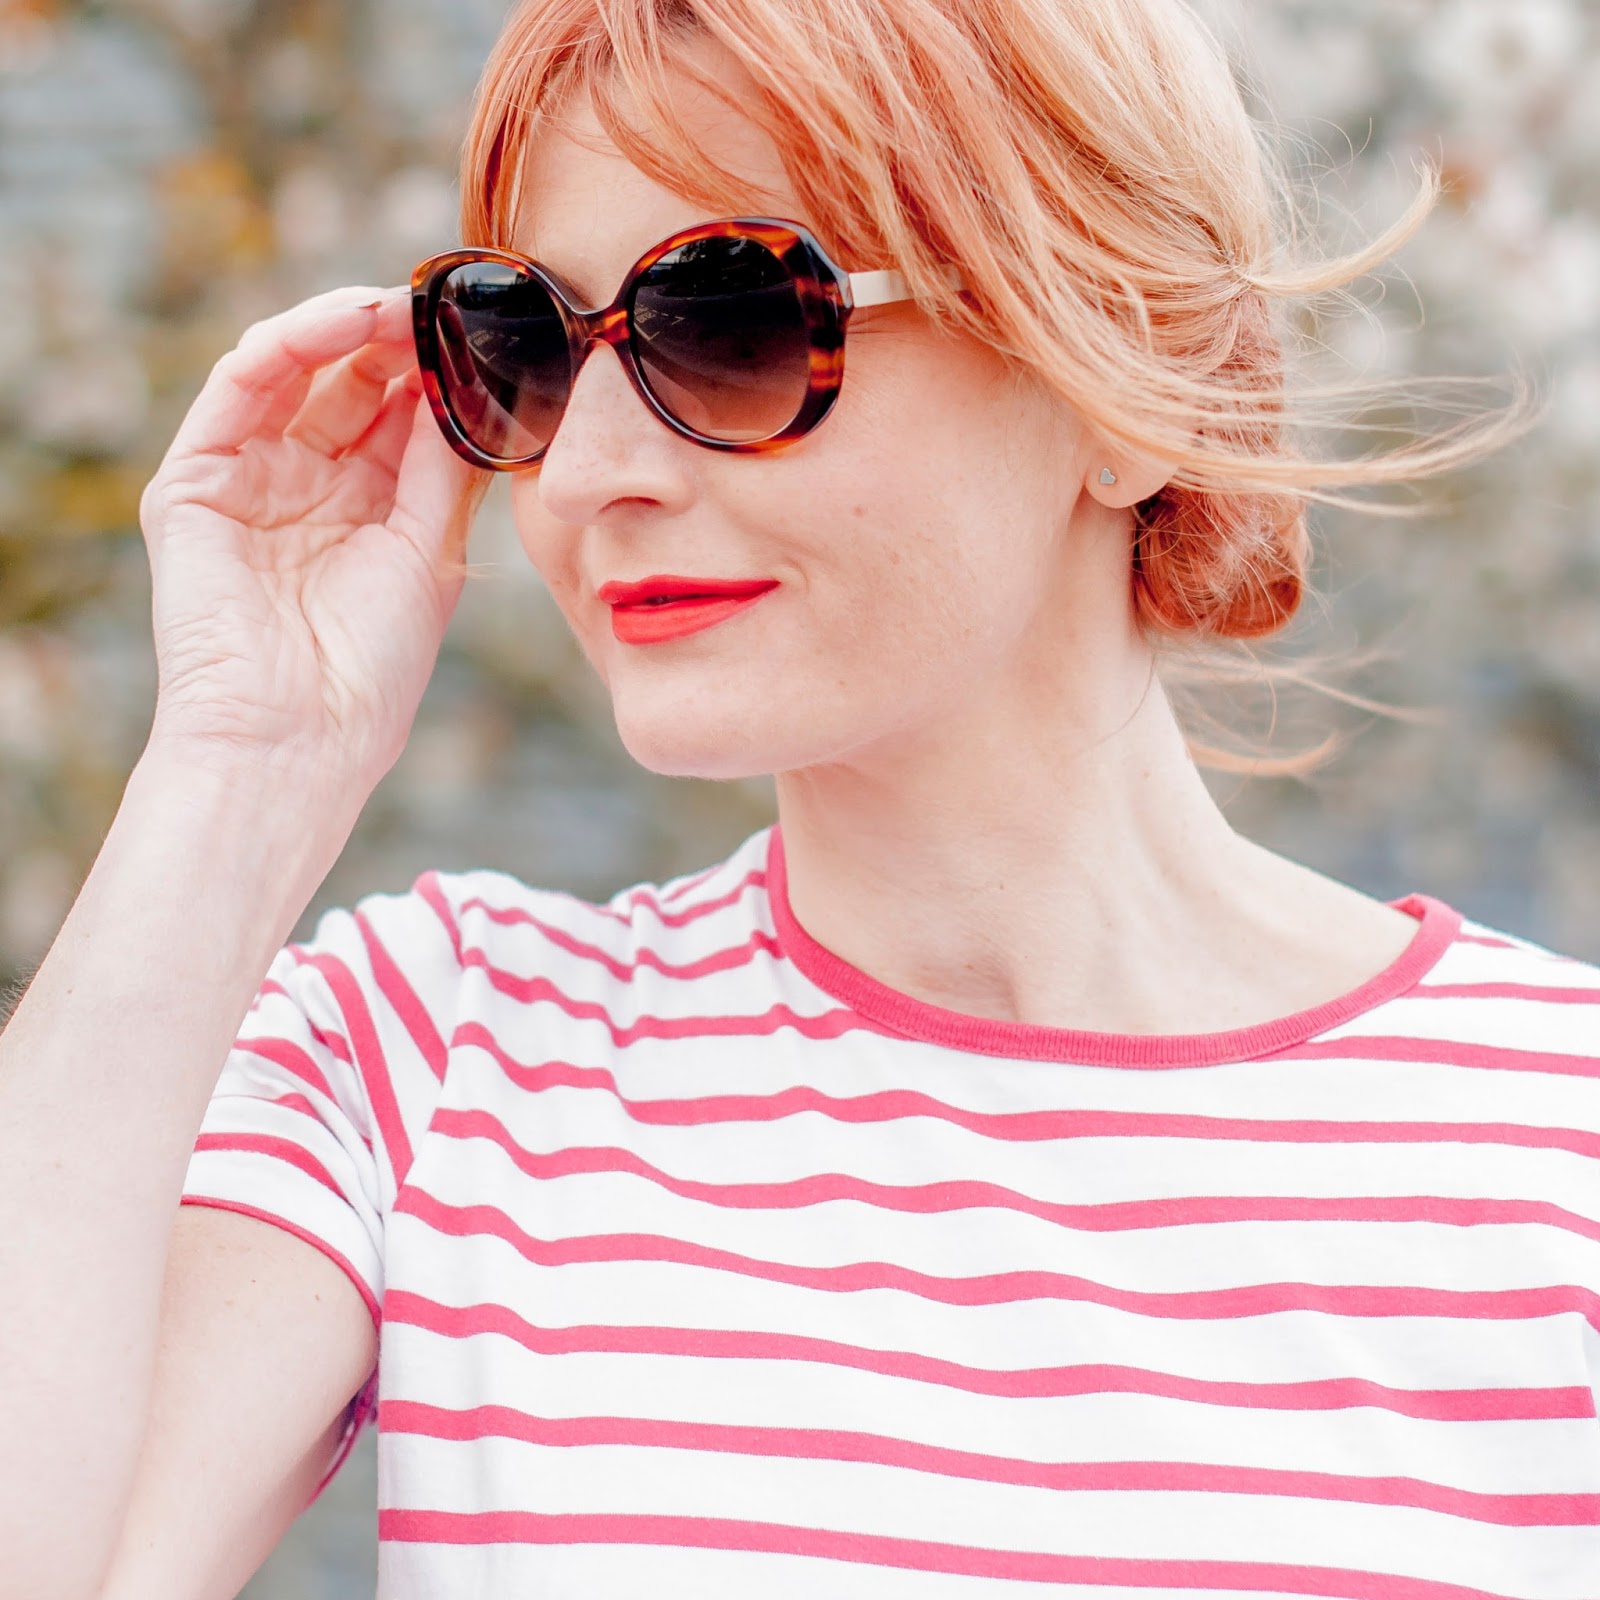
Now more than ever beautiful, rich images are what makes some fashion blogs stand out over others. So if you want to up your game and get noticed more, I’d thoroughly recommend starting with your photography. The tips here are really geared towards fashion bloggers, but some of the tips apply to all bloggers or budding photographers.
If you want to work with brands more but don’t seem to be getting the attention you’d like, take a long, hard and honest look at your photos. Are they as good as they could be?
Does my outfit jump out of the image?
Are the colours true and bright?
Am I standing out from my backgrounds?
Do I look in proportion and elegant?
If you answered “No” to any of these, then read on for some quick and easy tips to get you on the road to fantastic imagery.
I won’t go into much detail about what things like aperture, bokeh and other terms mean – see my A-Z of photography jargon explained (simply!) for everything explained in the simplest language. Here I’ll assume you know the basics, but will still explain things in layman’s terms as much as possible.
(For ideas on what equipment I’d recommend you have, read 6 camera equipment essentials for great photography, it should give you an idea of what you need to optimise your OOTD photos.)
Finally: Don’t give up if they don’t improve straight away. Remember practice makes perfect, and having a good (and understanding) relationship with your photographer takes time. Study the photographs of other bloggers and see if you can emulate particular compositions, use of backgrounds or poses. Show them the sort of thing you’d like to recreate – in the words of Jerry Maguire, Help them help you.
Another important thing to remember is that RULES ARE MADE TO BE BROKEN. I often read photography tips that say “Never, ever, ever shoot in direct sunlight” – 9 times out of 10 this is true. But you need to experiment. We shot this outfit the other day – we took a test shot with me in the shade and the colours went flat. I stepped into the sun and the colours went POW… case in point.
Trust your instinct and check the image on the camera: If it doesn’t look good, try something else. Change locations. Wait for an hour or two for the light to change. Swap positions with your photographer and the light will change dramatically. Be prepared to be flexible and your photos will improve from one shoot to the next.
So as this post is all about how to improve things when shooting, you’ll need a Part 2: Editing Tips for ideas on how to get the best results in post-production. That’ll follow in two weeks’ time, so do come back for that (you can sign up for email alerts so you don’t miss it if you like)!
Without further ado, here are my best tips for improving your blog outfit photos…
If you have a DSLR or bridge camera that gives you control over your settings, do not waste the opportunity to get some nice blurry backgrounds (otherwise known as bokeh). If you only use one setting on your camera for outfit photos, use the Aperture priority. By using a large aperture, e.g. f2, you will reduce the depth of field of your image (meaning less distance from the foreground to the background will be in focus).
See below…
By choosing a large aperture (it was f2.8 here), the light coming through the trees got blown out of focus and created small “balls” of light known as bokeh. Having an out-of-focus background always makes the subject stand out and puts all the emphasis on them, not the (distracting) background.
If you have a zoom on your lens – no matter what camera you use – DO NOT let the photographer stand close to you and shoot on the wide angle setting. Get him/her to stand right back, and zoom right in. It may seem unnaturally far at first – but believe me, you want the distance.
[tweetshare tweet=”Stand back and zoom in: this is THE best tip I can give for taking full-length photos of people – ignore it at your peril!” username=”notlamb”]Think of it this way:
When you shoot a selfie and try to get in your whole body, the camera is only an arm’s distance away and uses a wide angle lens, yes? And your head is super close and huge, and your body gets gradually smaller right down to your tiny legs and feet? Well, imagine a less-extreme version of that: Your photographer is still standing too close to see you in proportion – he/she is still looking down on you, and whatever is closer to the camera, i.e. your head, will end up looking larger than the rest of you.
What you end up with is a huge body and head, little legs and feet that seem to strangely fall away towards the camera. If you’re like me and wish to lengthen your legs as much as possible (who wouldn’t?), then tell that photographer to back up, sunshine!
The ideal focal length you want – either on the zoom or with a fixed lens – is around 50mm. Aim to use this “amount” of zoom and you will recreate most closely what the naked eye sees: The least-distorted image is the result.
To see what I mean, have a look at this paparazzi picture of Kim Kardashian with an abnormally large head and torso, and the tiniest legs and feet. As the pap had no choice but to stand really close to her, he (a generalisation but most paps do tend to be men) would have had to have used a very wide angle lens… this is the weird distortion I’m talking about. Even the very leggy Angelina Jolie has no legs and flipper-like feet that fall away in this picture.
See below for a no-distortion image…
By asking the photographer to stand back and zoom in, your body will be far more in proportion because they won’t be looking down on you. Here I look elongated and my head is in proportion with the rest of my body. My head and feet look like they’re the same distance from the camera which is how they’re meant to look.
Choose a background carefully – it can make or break an outfit shot. I understand not everyone has the time or the inclination to drive for miles looking for great places to shoot, but having three or four (local) locations that you use regularly gives you options, especially if one is urban, one is rural, one is a plain wall, etc. – options will improve your photos enormously. Backgrounds of different colours (or even just light or dark backgrounds) will also help you choose the right background for your outfit each time.
It’s always a good idea to choose a background that contrasts with your outfit. For example, if you’re wearing florals, don’t stand in front of trees or flowery bushes or you’ll get lost. Don’t wear black in front of a dark background, or something patterned in front of something busy.
See the two examples below…
As I was wearing white and pale yellow we went to where we know the trees create a dark background – the contrast between dark and light is striking. It also meant the red shoes jump out of the frame. When shooting this type of shot I stand right on the edge of the shadow so I’m not in direct sun, but as much light as possible is shining onto me.
The predominant blues of my outfit show up beautifully against all the autumnal oranges and yellows, despite me being only a small figure in the corner of the image. Although the pattern on the coat is busy and the leaves on the ground create their own busy pattern, the blue/orange contrast is enough to separate the two.
If you stand too close to a busy background, you will find that it will be mostly in focus and your outfit won’t stand out. There are exceptions of course when having the background in focus does work, but generally you want to create as much distance as you can between the subject (you) and the background. Of course if you’re shooting in Auto (see point 1) then it’s unlikely your camera will pick the right setting to create blurry backgrounds. By combining a large aperture with a large gap between subject and background you’ll ensure you get a dream-like quality to your images.
See below…
This was taken in a field with trees all around – I chose a spot that had the trees far behind me so that the background was thrown out of focus. If I were right up against the trees or bushes then that soft quality would have been completely lost.
This is one of my favourite tricks and is especially good for older skin. When we shoot outside, light is generally coming from an overhead direction (even on an overcast day). What happens is that it creates an unflattering “five o’clock shadow” around the jawline. If (like me) you have slightly looser jowls than you’d like, it will, unfortunately, highlight them.
Imagine light coming from both above AND below: That means even, flattering light! Wrinkles and jowls (almost) erased!
What you need to do is to either find a light-coloured floor (easier said than done) or use a reflector. I mentioned reflectors in my post explaining how to improve your selfies – they’re not expensive but they make a huge difference to unwanted shadows. I recommend this one for about £10 (US link). Of course these will only work on closer shots because you have to hold them under and near your face, but that’s why light floors are so fantastic…
If you know somewhere that has a light floor, USE IT. It will bounce so much light back up that the light will be beautiful every time (the shade is far better in this instance). Black tarmac roads are the worst for sucking all the light out of your face – sometimes they can’t be avoided, but if you know of a location with a light floor, go try it out.
See below…
The new pale grey concrete that was laid at this industrial estate we always used was an absolute gift. No matter what the sky and sun are doing, we always get the most fantastic light now because any available light is reflected back up and onto my outfit and – most importantly – my face. I always, always look so well and rested(!) when we shoot here… It’s the light that does it, nothing else.
Using diminishing perspective in the background will add drama and a way of making all the attention “point” towards you (the subject). Shooting down a street or down long pathways adds depth. Although I often photograph in front of a flat wall (as above), I do favour vanishing points (so does the husband).
See the two examples below…
See how that vanishing point “shoots out” from the end of the street (like rays of the sun), emphasising my face as it goes past? An urban background lends itself perfectly to outfit shots, especially if you shoot down a street with tall buildings. The diminishing perspective looks bold and striking – see below for the same idea in a rural setting…
Here I was a long away from the camera so we could make dramatic use of the path winding away into the background and the tall trees. The image is “presenting” the subject (me) to the viewer via the path as it opens up towards the camera. At this point you can probably detect the photography teacher (that I used to be) coming out in full force…!
If you really want to up the ante and get beautiful, rich images, shoot in RAW. I cannot tell you the incredible difference shooting in RAW makes to your photos in post-production. If you’re unsure about what RAW images are – or if you’ve never heard of it before: a RAW image file contains minimally processed data from a digital camera image. It’s named “raw” simply because it’s not yet processed (that’s the most basic way of explaining it). It’s designed to always need post-production – an unprocessed RAW image looks truly terrible… it’s the ugly duckling of photography.
To compare to JPEGS, which can often “get away with” no post-production: RAW files do not simplify data (pixels, in other words) like JPEG images do. It means that during processing in Adobe Lightroom*, RAW images won’t lose all the richness and detail that gets lost in JPEGs – instead, it enhances them. Blacks will be really black and whites will be truly white in RAW, whereas JPEGs makes everything just a little bit flat and grey.
(Most modern DSLR cameras have RAW shooting options. Check the manual to see if yours has the option – if it does I’d advise starting off with some test shots in RAW first as it might take you a while to get the hang of Lightroom. There’s nothing worse than trying to learn a new software package when you’re in a rush to get a post on your blog. More on this in part 2.)
See this fantastic comparison below:
These two outfit shoots were only months apart and obviously shot in the exact same location, but you can clearly see the difference between the photo shot in JPEG and the one shot in RAW. The RAW image has a beautiful deep, almost 3D quality to it (look how I stand out from the background on the right)! It doesn’t look like it, but the light was the same in both cases: an overcast but bright day. Once you start shooting in RAW, you’ll never go back.
*Lightroom is the daddy of all editing suites, like a different kind of Photoshop – you need Lightroom for editing RAW images (they can’t be edited in Photoshop or free online software like PicMonkey). I’ll be covering using Lightroom in part 2: Editing tips, so do come back in two weeks for that.
Let me know if you’ve found these tips helpful… I do hope they have! As always shout with any questions in the comments, or tweet me. I’ll be happy to help.
ARE YOU HOPING TO IMPROVE YOUR OUTFIT PHOTOS? WHAT DO YOU THINK NEEDS IMPROVING THE MOST? COMMENT BELOW, OR TAKE IT TO TWITTER @NOTLAMB!
LIKE THIS POST? YOU MIGHT ALSO WANT TO READ…
– How to Improve Your Selfies in 11 Easy Steps (Without Facetune)
– How to Take the Best Photographs in Bright Sunlight
The eternal dilemma: what do you wear to a concert or festival when you're over…
How many articles have you read that encourage you to have a closet clearout/wardrobe refresh…
A few weeks ago I brought you my can't-live-without purchases and promised my top health…
I may be lamenting the end of our glorious summer, but I'm excited about my…
Everyone loves a compliment, amirite? (Well maybe not everyone, I think half the British population…
In my Things I'm Loving This Month I have nuggets of wisdom Wes Anderson style,…