
I’m definitely a girl who’s a sucker for a beautiful accessory or two, and I don’t do DIY posts very often but I thought you might like this very easy tutorial – just in time for Christmas perhaps…?
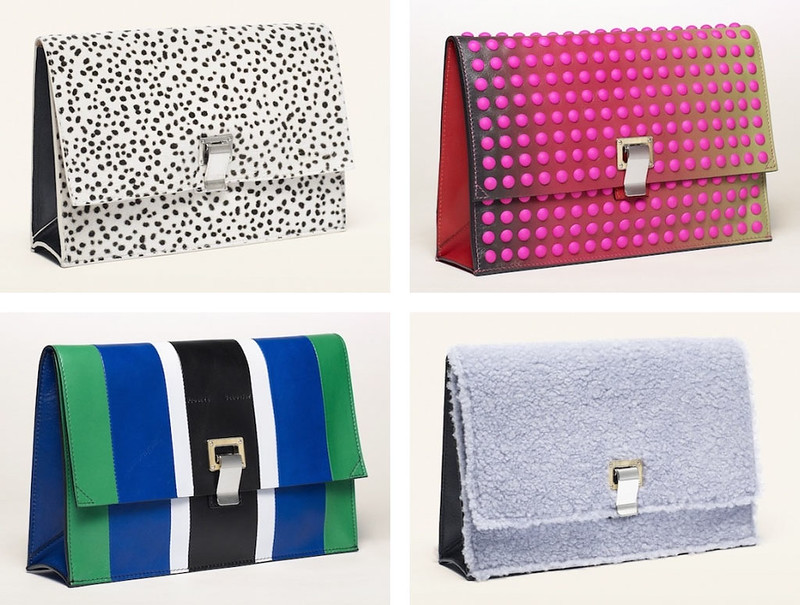
Although I know I shouldn’t torture myself by poring over designer accessories too much, sometimes a particular collection will really catch my eye. The Proenza Schouler Fall 2013 bags did exactly that, and of all of them I especially loved the boxy shape of the clutches (below) in various finishes. And as I’m having a total pink thing at the moment, my favourite was the neon pink beaded clutch – and a DIY idea was born!
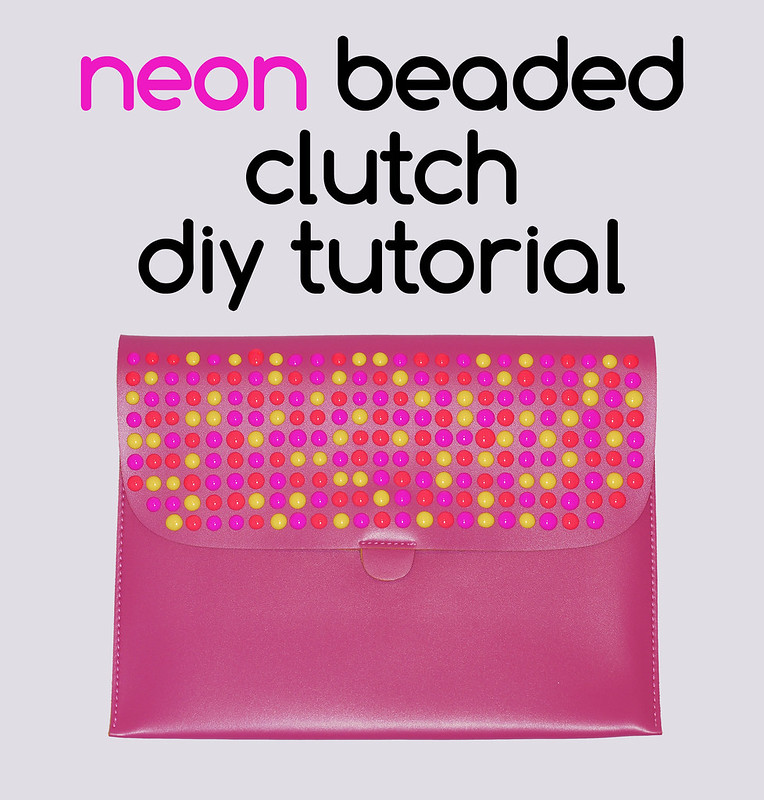
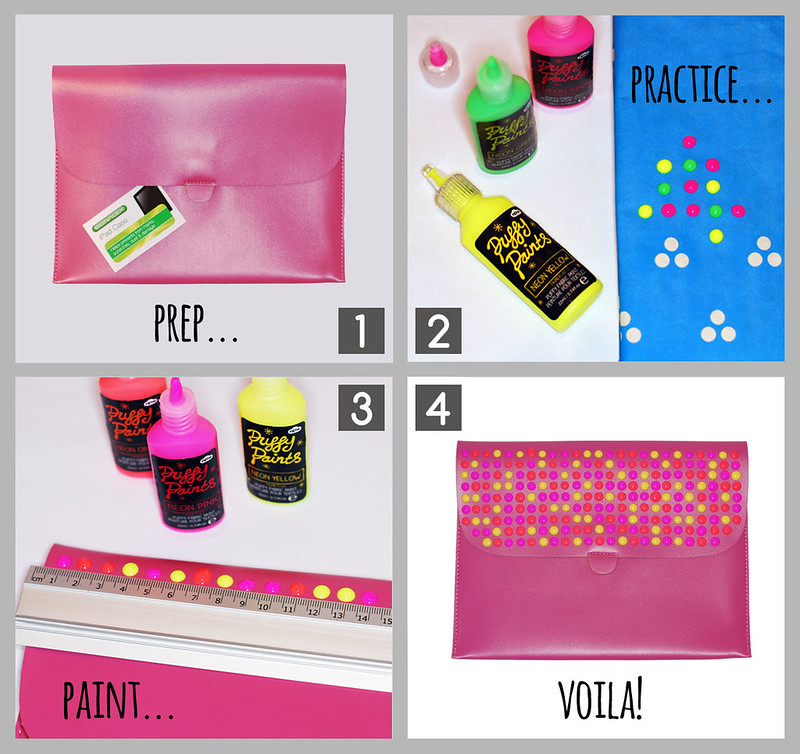
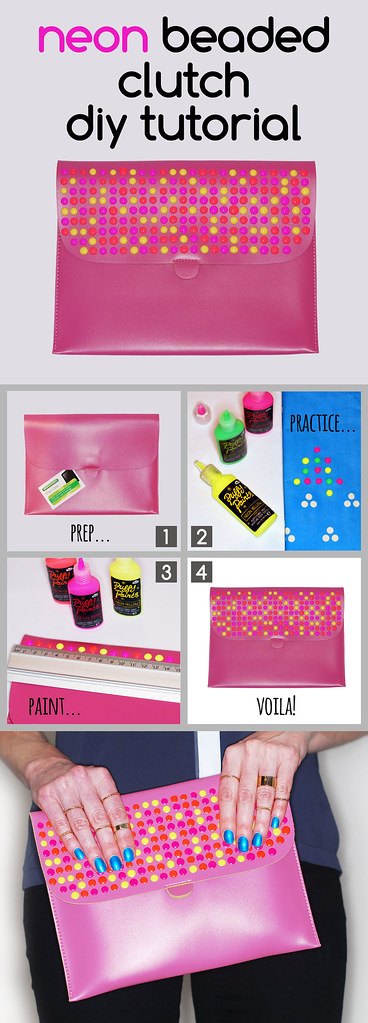
The idea was simple – find a plain clutch that would take beaded paint well and get creative with those dots of colour. The Proenza Schouler clutch has an ombre effect under the beads, but I decided to introduce colour with different neon paints. In my hunt for a plain clutch to use, I found a selection of iPad cases at Poundland… yes, this bag cost me the grand total of £1, what a bargain! So read on for how I created my own Proenza Schouler inspired beaded clutch – I’ve also created a single image with the whole tutorial on there as an ideal image to Pin 🙂
What you will need:
- A plain clutch bag (preferably flat or envelope-style – I used an iPad case!)
- Puffy or fabric paints
- Long ruler
- Cotton buds (Q-tips)
- Newspaper or sheet for catching mess
Steps:
- Make sure the bag is clean and dry and on a flat surface.
- Gather paints and do some tests on some scrap so you know how large to make your beads of paint.
- Line up the ruler to the top and decide how far apart you want the beads – I did mine 1cm apart. Use the ruler markings to make sure the first bead and the last bead in the row will be equal distances from the edges, and hold the ruler firmly in place. Carefully dot a bead of paint at each interval just above the ruler (I selected the three colours randomly as I went along).
- Continue moving across and complete as many rows as you wish. Leave to dry for at least 24 hours – done!
Tips:
- Be very, VERY careful and keep a steady hand. Don’t do anything that might result in you jogging yourself and ruining the pattern.
- Depending on the material of the clutch, you can use a cotton bud to catch any blobs of paint. However, don’t do what I did and drop the cotton bud onto the wet beads… 10 minutes of frantic mopping up and redoing the beads followed.
- If painting the flap, put something underneath it to make it level rather than slanted – I found an empty DVD case was the perfect depth.
- I painted the colours randomly, but you could paint colours in stripes, chevrons or any other pattern you like (or just use one colour). It’s a good idea to plan a specific pattern on paper first so you have something to follow.
- I used puffy paints with the intention of “puffing” them as per the instructions but I decided I liked the beads of paint as they were. No reason you can’t do a trial with puffed-up puffy paints to see if you like the effect.
- To create the Proenza Schouler’s ombre look, you could use a can of spray paint to create a subtle ombre effect before adding the beads of paint.
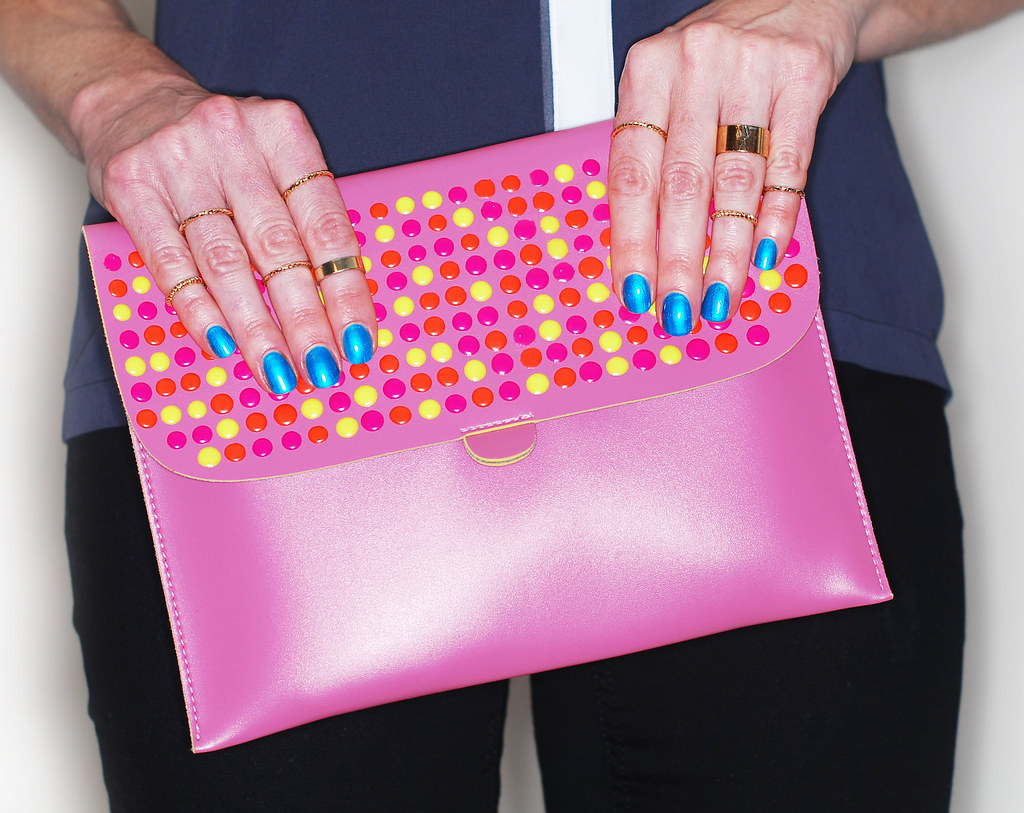
That’s it! I hope you like the tutorial and find it as easy as I did – you just need a steady hand and a certain amount of patience. Let me know if you’re thinking of trying anything similar – and if it’s given you some ideas for Christmas?
Have a great weekend lovely readers – see you back on Monday for an outfit post and details of a fabulous giveaway…!


Shop the DIY! I’ve found some puffy paints and some clutch bags you could use that are £20 or less:
I have been compensated for this post by Proenza Schouler. All content is original, however, and any opinions are 100% honest.

You are so clever! You did this DIY with your shoes as well. And with your dress. You are a very clever girl. And the result looks ever so nice. Good jobs.
If you ever want a career switch…(another one), you can become a tuturioal writer. Never have I seen such clear explanations as yours.
Greetje
This bag couldn't be any more fun! Pinning!
Great DIY!
Lauren
livinginaboxx
Oooh, fun!! What a cute idea!
XOXO
Remy
mydailythreads.blogspot.com
This clutch is gorgeous!
xx
Kelly
Sparkles and Shoes
Catherine….is there anything you can't make Fabulous? Love IT!
This is a super idea!! I go through "phases" of DIY…I think you've just jump-started my motivation!!
Fabulousssssssssssssss I want one now, ahhhhhhhhhhhh
Happy weekend, dear Catherine.
XXXXXXXXXXXXXXXX
Well done! I love the results. xox
Now that's impressive! Donna x