
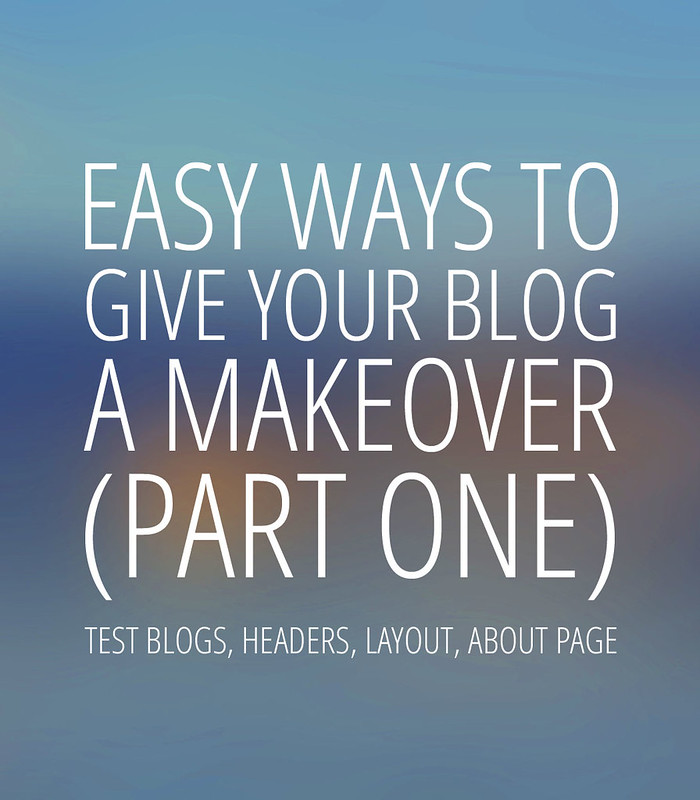
Since I gave my own blog a design makeover in September last year, a few people have asked whether I got a designer to do it for me or whether I did it myself. Well, it’s all my own work, and I’ve also been asked to share any practical tips that may help if you’re thinking about doing your own redesign.
So here’s heads up: I am not a graphic designer, or a designer by trade. However, I have always been artistic and have “dabbled” in lots of areas of design – ending up with a Bachelor of Arts in photography – so I guess I do “have an eye” for design. But I’m convinced you don’t need an artistic background to be able to do this for your blog!
I have included this post as part of my Photo Tips series even though yes, I know the design of your blog isn’t really photography, but in my opinion it all falls under the same umbrella. You want better photos on your blog? Read these tips. You want a better design for your blog? It makes sense to go to the same place.
As with my Photo Tips I have tried to give all my tips in layman’s terms, and have assumed that none of you are designers by trade or otherwise, or that you have access to Photoshop or other software that cost an arm and a leg. Plus, this post has now become Part 1 of Give Your Blog A DIY Design Makeover – as usual I started writing too much, so in true Tarantino/Kill Bill style I have split the post up rather than shortening it. At the moment I have no idea how many posts there’ll be in the end, so keep checking on Fridays or follow me on Twitter or like my Facebook page for updates.
So without further ado… here’s the first post.
…………………………………………………………………………………………………………………………
If I could only give you one piece of advice, this would be it. I couldn’t possibly have redesigned my blog without doing this:
1. Create a TEST BLOG
- Choose an unexciting name that no-one will want to visit – e.g. myowntestblog, testblog123456 (you get the idea).
- Make sure it isn’t visible to search engines* and can’t be found through your profile, then play around with the design to your heart’s content.
- Do NOT try and do this with your actual blog.
- Having a test blog will give you time to come up with a design over the course of a week, a few weeks – however long you need. There’s no rush.
This will help you in two ways: 1. You won’t make a mess on your actual blog or confuse your visitors, and 2. It’s good to start with a totally blank canvas, and helps you think more creatively.
Once you’ve got that sorted – you’re under way!
*on Blogger: Go to Settings > Privacy > Edit > Select ‘No’ to both questions.
2. Sort out a great header
The header is the best place to start. There’s no one piece of advice I can give on how to redesign your header – it’s probably the most personal yet most important part of your blog. If you’re completely stuck and have no idea where to start, I’d say simply redesign your header using a simple, black font on a plain white background – basically you can’t go wrong with this. Play around with upper or lower case, or a mixture of both. For example…


Use Picmonkey.com or any similar free online website where you can add text to images. So you could use one of your own images to lay text over, or go minimal and upload a plain white image and add text over the top. I’ve created a blank white JPEG that you can download to get you started to lay text over the top – it’s W1000 x H250 pixels but you can crop to resize it first:
Click here to download a blank white header
To prove how easy it is to create something chic and simple, I created the one below on Picmonkey in less than 5 minutes… think what you could do with a spare hour or two.

3. Decide on your layout
0
Play with the different options of having one column or two either side of your main body – if in doubt, go for the simpler option of one: it’s less work and easier to make it look balanced. Maximise your layout width – I’d say a ratio of main body to column as 3:1 or 4:1 – without making it completely fill the screen widthways.
Make sure the font for the main body posts is large enough for everyone to read. If you see a font you like on another blog and you’re not sure what the font is, drop the blogger an email and they hopefully will let you know. Or this is what I find often works: copy and paste some of their text into an email on Outlook, or into a Microsoft Word Document or similar. Nine times out of ten the font will be recognised if you click on the text and see what it is called. Then set yours to the same.
Once you’ve got the basics of a header and the layout, create some test posts using your own images and some text and be daring enough to publish them. (If you’ve set the test blog so it can’t be seen you can publish posts left right and centre.) Upload widgets for your side column to work out the best order – it’ll be easier to see how they look if you already have posts up.
4. Create an interesting About page
0
Sort yourself a creative but informative ‘About’ page. It’s one of the first things I go to when visiting a new blog, so make it memorable (i.e. no long-winded paragraphs of just text). Include at least your first name (so many bloggers don’t!) and roughly where you’re located (at least a country) so you become a real person. The following About pages may give you some inspiration to try something different that isn’t simply a paragraph of text:
Kendi Everyday (one pic and simple bullet points)
Man Repeller (more abstract – a dictionary definition of the name)
The Blonde Salad (features a video as well as a lot of text)
Wearing It On My Sleeves (a mini biog made up of photos and a caption for each)
Mine? It’s always work in progress. I think I will always keep updating it because either I change, my interests or attitudes change or I want to try a new design. Once you’ve redesigned it/created one don’t just forget about it – keep the facts up-to-date.
…………………………………………………………………………………………………………………………
So that’s Part 1 done with – let me know how you get on! It will also give you time to get this part under way so you may even have these elements sorted by the time I publish Part 2 (probably in two week’s time).
As always I really appreciate any feedback you have for me – and if you want to add anything to the points I’ve covered so far, please, please share them in the comments. If there’s a particular part of redesigning your blog that you’d like me to cover/do a tutorial for, I’ll see what I can do. I can’t promise I’ll know how, but I’ll do my best!
Hope you all have a great weekend – come back tomorrow for another outfit post!


Great tips 🙂 Love Kendi!
xo Ashley
thetiniestfirecracker.com
Thanks Catherine. I will update a few things in my blog. Wish I had thought of a test blog myself. I was in the process of making it a site of my own instead of using Blogger, but I gave up. No programming skills and the guy who helped me did not know much about blogging, which did not help. The idea of having to transfer all those posts to a website now, would give me nightmares.
Great tips – my site is a few months old, but I've got 'scheduled maintenance' pencilled into my calendar to make sure I give it some design love before too long –
I think that re-designing a site is kind of like renovating a house – it's nice to live in it a bit before bringing in the architect, so that you get a feel for what works for you and what doesn't.
Devon
InformedStyle.com
I'm having a "why didn't I think of that" moment. Thanks for these excellent tips.
excellent tips,good post.
Wonderful, wonderful tips, Catherine! I have a three-day weekend coming up, I think I'll take the time to spruce up my blog. I can't wait for the rest of your advice!
Brilliant post, Katherine.
XXXXXXXXXXXXXXXXXXXXXX
Hi Catherine!
Excellent tips here for updating the header. I change mine up fairly frequently for the same reasons you mentioned. I do have a question: (since we are both on blogspot). If I use a 'signature'image for my name like you do or a personal photo in my post blogspot will tend to override the first photo of my post (the one I want to show in the blog role for other bloggers)and instead use the signature or personal pic. My question~how can I be sure that blogspot pulls my FIRST photo to represent my post. Any tips? Would love to hear.
Great series! Happy weekend!
Cheers, Heather
http://www.stylemindchic.blogspot.com